Why Drywall Repair and Painting Should Be Done by the Same Contractor in Mill Creek
When a drywall repair company patches a wall and then leaves, you have a patched wall with a mismatched paint spot. When a painting company repaints a wall without fixing the underlying damage first, the damage shows through in 6 months. The right approach — and the one that saves you from scheduling two separate contractors — is one crew that handles the full scope: moisture test, cut-back or patch, texture match, prime, and final paint coat. I do all of this. The repair and the paint are part of the same project, priced together, done on the same visit or over two consecutive days depending on drying time requirements.
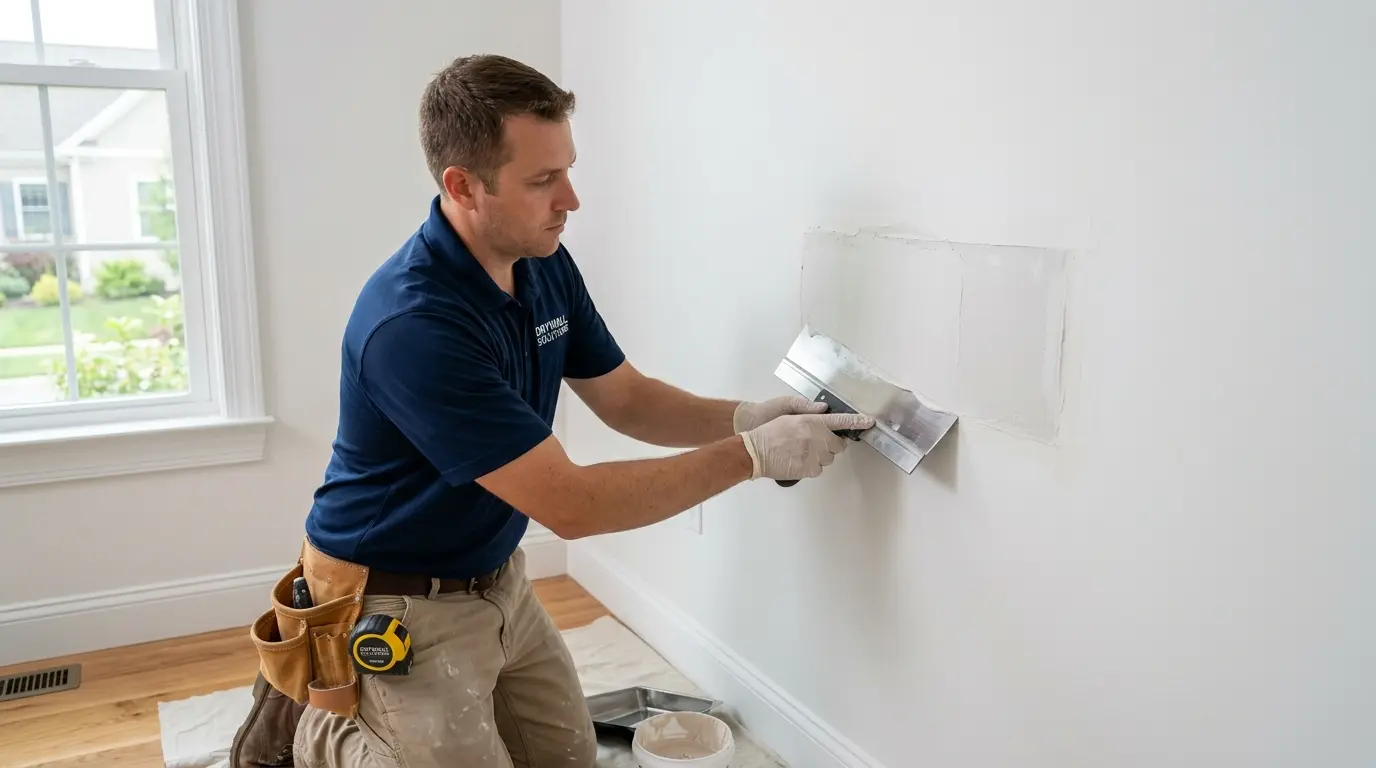
Water Damage Repair + Repaint
In 2023 the Park family on 35th Ave SE in The Crossings called me about a wall repair that had failed. A handyman had patched a water-damaged area above the bathroom window 7 months earlier. The patch had cracked horizontally and there was a faint brown ring visible through the paint. I moisture-metered the wall: the original drywall behind the patch was reading 17% MC. The roof leak had been repaired but no one had confirmed the wall had dried before patching — it had not.
I cut the damaged section back to dry material (moisture dropped to 9% about 14 inches from the original damage), ran a dehumidifier in the room for 36 hours with the cavity open, installed new 1/2" drywall, taped with paper tape embedded in Durabond 90, two coats of all-purpose compound, sanded to feathered edge. Orange-peel texture matched on scrap first, checked under raking light, then applied to repair area. Primed with Zinsser BIN shellac primer to seal the water stain permanently. Finish coat: SW Duration in the existing wall color, matched from the original paint code.
The repair has been invisible since the day the paint dried. Total time: two visits, four hours each.
Nail Pops + Full Room Repaint
In 2024 the Morrison family on Penny Creek Rd contacted me about nail pops throughout their living room and hallway — 12 pops total that appeared after the previous winter. Their house was built in 1991, and the wood framing had dried and moved predictably after 30+ years of seasonal cycling. The pops were most concentrated on the north-facing interior wall, which sees the highest humidity variation.
The correct fix for every pop: drive the original nail deeper to eliminate the bump, install two drywall screws 2 inches above and below each pop to pin the board firmly back to the stud, dimple all three fastener points, skim coat with two thin coats of all-purpose compound feathered out 8–10 inches from each repair. Sand smooth. Orange-peel texture to match (1990s Village Green and Penny Creek construction is almost universally orange-peel).
After the 12 repairs were done the Morrisons wanted the whole living room and hallway repainted — the touch-up spots would have been visible against the 10-year-old paint anyway. Two coats of BM Aura in Classic Gray OC-23. The living room looked new. Total cost was less than they had been quoted for the repairs alone by a drywall-only company.
Also see: wall patching in Mill Creek for smaller standalone repair jobs.
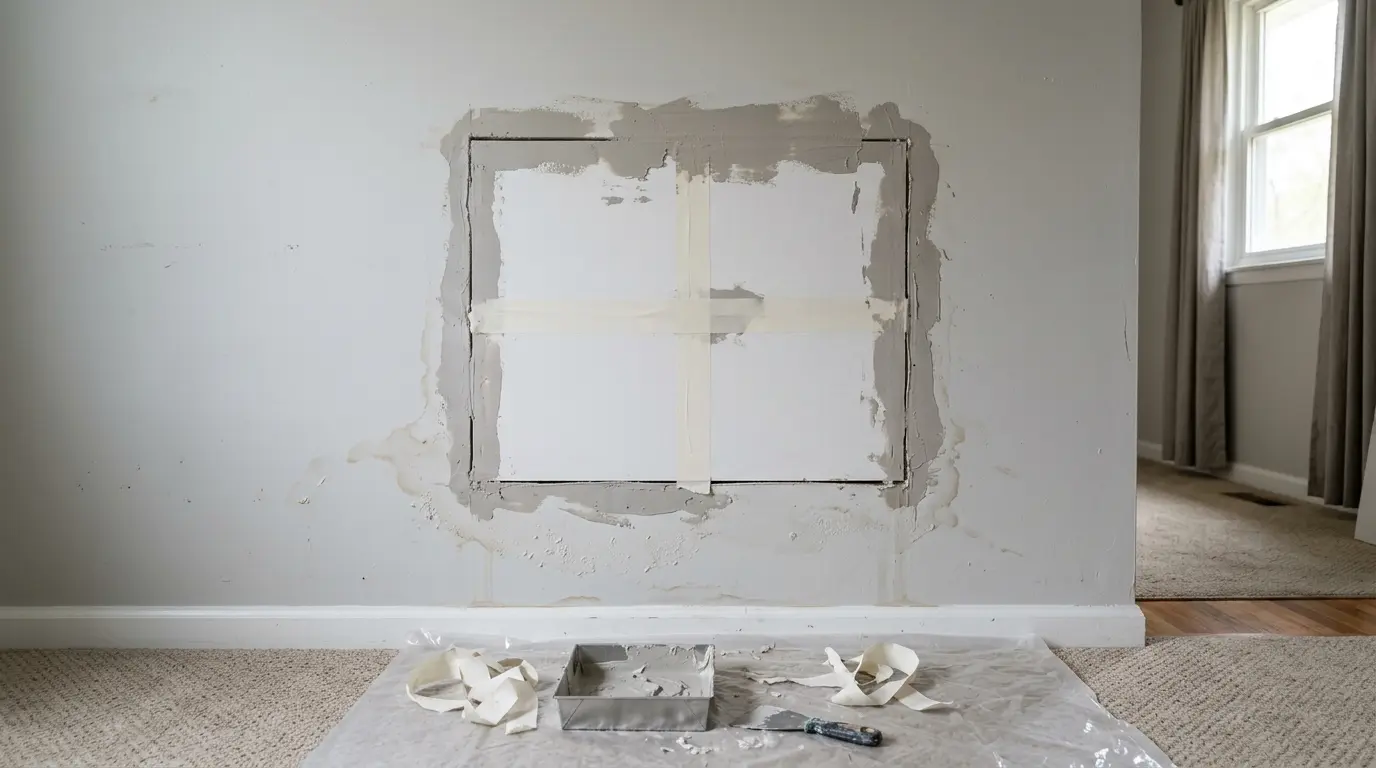
How I Handle Drywall Repair + Paint in One Project
Moisture test — before opening the wall
Pin-type moisture meter on every damaged area. Above 12% MC: the wall is still holding water. Above 15%: I will not patch until it dries — with or without help from a dehumidifier. A patch applied to wet substrate is a callback guaranteed within 6 months.
Diagnose the cause, not just the symptom
A crack at a window corner has a cause — wood movement. A water stain has a cause — the leak. A nail pop has a cause — framing shrinkage. I address the cause before the repair material goes on. This is why my repairs last and handyman repairs come back.
Durabond 90 for all structural base coats
Durabond 90 is a setting compound that chemically hardens — it does not shrink, does not crack, and bonds aggressively to paper tape and drywall face paper. All-purpose compound goes on top for fill and skim coats. Never as the base.
Feathered edge, not flush
A patch sanded flush creates a flat spot visible under paint. The compound gets feathered 8–12 inches from the damage, thinning to zero. Under raking light this reads as continuous wall. A flush patch reads as a circle.
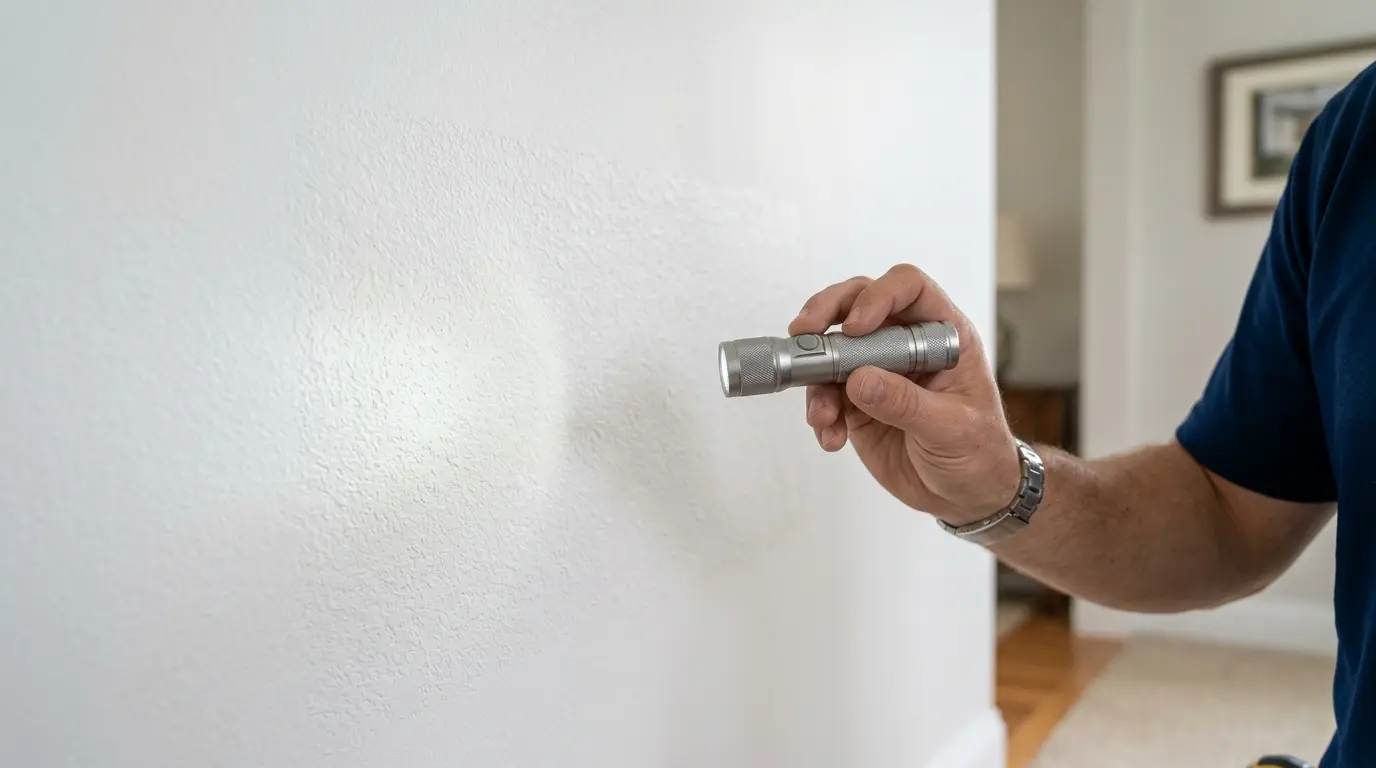
Texture test on scrap before the wall
I spray or trowel test texture on a scrap piece, let it dry, hold it next to the wall and check under raking light. Adjust pressure, dilution or technique until it reads as a match. This takes 15 minutes and prevents a visible repair under paint.
Zinsser BIN shellac primer on any stain area — mandatory
Latex paint will not seal a water stain — the stain migrates through, even after 3–4 coats. Zinsser BIN shellac-based primer seals it in one coat. I apply it to every water-damaged or smoke-stained area before the finish coat goes on.
Materials on every job
- Durabond 90 — setting compound, base coats
- USG All-Purpose — fill and skim coats
- Paper tape — all seams and cracks
- Zinsser BIN shellac — stain blocking primer
- SW Duration / BM Aura — finish coat walls
- SW Emerald Urethane — finish coat trim
- Pin moisture meter — every job, first step
Drywall Repair and Painting Prices in Mill Creek, WA (2026)
| Scope | Price Range | What's Included |
|---|---|---|
| Small hole under 4" + texture + touch-up paint | $150–$280 | California patch, skim, texture, prime, paint |
| Medium hole 4"–12" + texture + paint | $280–$550 | New board, tape, 2 coats compound, texture, prime, paint |
| Large section + texture + paint | $550–$1,100 | New board, full tape, 3 coats, texture, prime, paint |
| Water damage cut-back + full repaint | $750–$2,200 | Moisture test, cut-back, dry time, board, tape, texture, BIN primer, paint |
| Nail pops (cluster 3–5) + texture + paint | $180–$320 | Screw fasteners, skim coats, texture, prime, touch-up paint |
| Settling crack + texture + paint | $200–$380 | Paper tape embed, 2 skim coats, texture, prime, paint |
| Full room repaint after repair (add-on) | +$350–$900 | Walls, ceiling or trim — depends on room size |
All prices include materials, texture matching, prime coat and cleanup. Full room repaint is often recommended when touch-up paint shows against aged wall color — priced together with the repair it is more economical than as a separate job.
"The handyman\'s patch had cracked and you could see the brown ring through the paint. Antonio moisture-metered the wall and found it was still at 17% — the wall had never dried out after the roof leak. He did it right this time: cut it back, dried it properly, new board. It\'s been over a year and the repair is invisible."
— Park family, The Crossings, Mill Creek (2023 — water damage repair + repaint)"We had 12 nail pops and just wanted them fixed. Antonio explained why they come back if you just spackle them and did the whole job correctly — screws, skim coat, texture. We decided to repaint the room at the same time and it was priced very fairly as a combined project. The room looks completely different."
— Morrison family, Penny Creek Rd, Mill Creek (2024 — nail pop repair + living room repaint)Mill Creek Neighborhoods — Common Repair Patterns by Area
Village Green
Original Mill Creek development, late 1970s–1980s. Framing is well-dried — nail pops and corner cracks are routine in this age range. Orange-peel texture is standard. Some pre-1978 homes in the oldest sections — EPA RRP required for paint disturbance on those properties.
The Crossings
2000s–2010s construction. Lighter orange-peel or smooth finish walls. Water damage from roof and window failures most common repair call. Newer homes have higher ceilings — access requires extension poles and occasionally a small scaffold section for ceiling patches.
Penny Creek
1990s single-family homes along Penny Creek Rd corridor. Heavy nail pop season after cold winters — wood framing now 30+ years old and cycling predictably. Orange-peel texture universal. Interior repaints frequently requested alongside repair work as part of a single project.
Mill Creek Country Club
Upscale 1980s–1990s homes on the golf course. Larger square footage, taller ceilings, more complex trim profiles. Water damage near skylights and dormers is a recurring issue. Smooth finish ceilings common in higher-end builds — requires different skim technique than orange-peel walls.
Related Mill Creek services: wall patching Mill Creek · professional painters Mill Creek · painting contractors Mill Creek · exterior painting Mill Creek · house painting Mill Creek. For neighboring cities: drywall patching Redmond. Full service list: all painting services.
Frequently Asked Questions — Drywall Repair and Painting in Mill Creek WA
How much does drywall repair and painting cost in Mill Creek WA in 2026?
Small holes under 4 inches with texture and touch-up paint run $150–$280. Medium patches 4–12 inches run $280–$550. Water damage requiring cut-back, new board and full repaint runs $750–$2,200. Nail pop clusters of 3–5 pops with texture and paint run $180–$320. Full room repaint combined with repair work adds $350–$900 depending on room size. All prices include materials, texture match and prime coat.
Can drywall repair and painting be done in the same visit?
For small repairs — holes under 4 inches, nail pops, hairline cracks — yes, repair through final paint in one 3–5 hour visit. For water damage or medium-to-large patches, two visits are needed: compound and first coats on day 1, final sanding, texture and paint on day 2. Rushing compound drying is the most common reason patches show visible cracks at 3–6 months — I do not rush it.
How do you match the existing texture in Mill Creek homes?
Most Mill Creek homes in Village Green and Penny Creek (1980s–1990s) have orange-peel texture. The Crossings newer construction often has lighter orange-peel or smooth finish. I spray a test patch on scrap drywall, let it dry, then check it under raking light against the existing wall. If it reads as a match under raking light, it will be invisible after paint. This test takes 15 minutes and is not skippable.
What causes nail pops and how are they fixed properly?
Nail pops happen when wood framing dries and shrinks after construction, pushing the fastener out. Mill Creek's 1980s–1990s housing stock is now old enough that seasonal movement is very predictable — especially after cold winters. The correct fix: drive the nail deeper OR remove it, install two drywall screws above and below the pop, dimple all fastener points, skim coat with two thin coats feathered 8–10 inches out, texture and paint. Spackle alone hides it for 8–12 months before it pops again.
